
Install tracking
Install with Google Tag Manager
Install the tracking code through Google Tag Manager.
Create your account
-
Create a ThoughtMetric account
Go to the ThoughtMetric sign-up page and sign up.
-
Select the Google Tag Manager platform
After you sign up, you are directed to an onboarding guide. Click the GTM button to view the installation instructions for that platform.
Set up the base tag
First, set up a tag that inserts the ThoughtMetric pixel on every page.
-
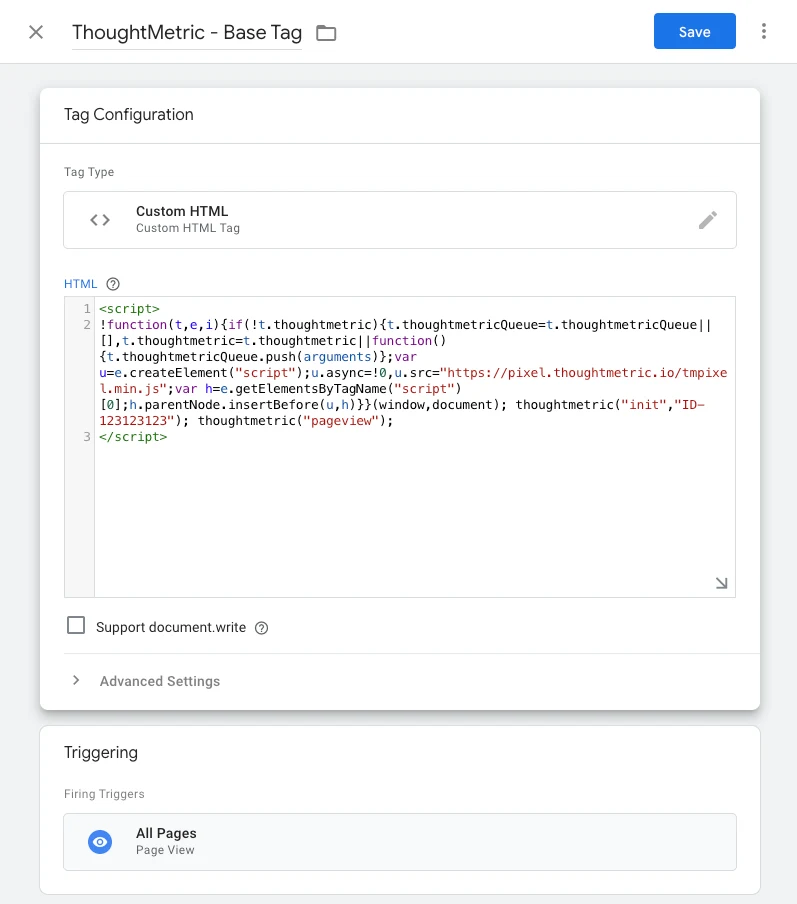
Create a new tag in Tag Manager and name it
ThoughtMetric - Base. -
Select Custom HTML as the tag type.
-
Select All Pages as the trigger.
-
Paste in the Base Tag code found in the ThoughtMetric onboarding guide and click Save.
Set up the purchase tag
Next, set up a tag that triggers the ThoughtMetric event code on every purchase.
-
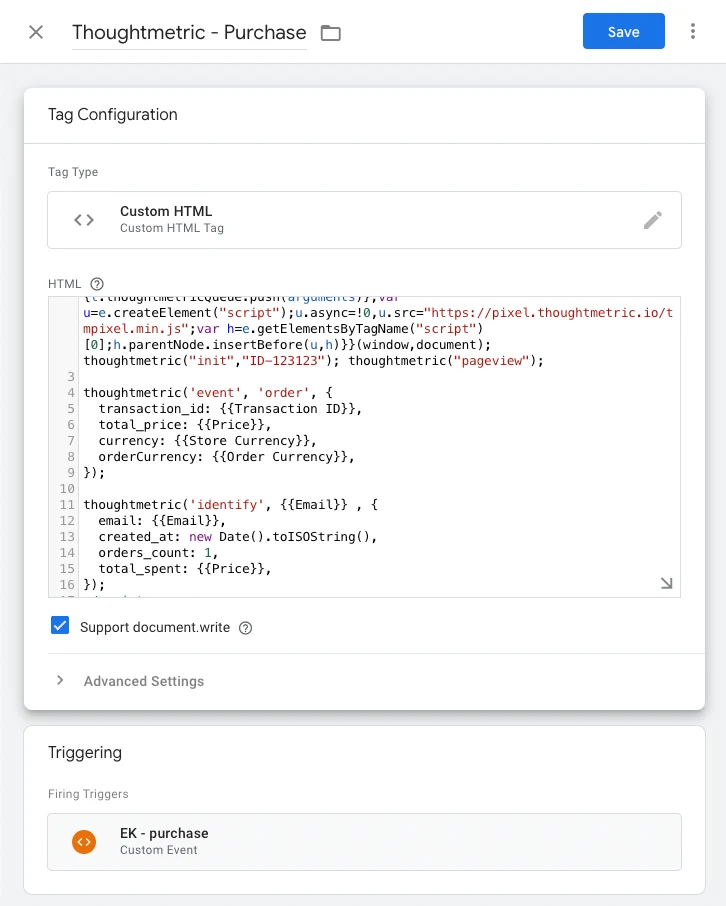
Create a new tag in Tag Manager and name it
ThoughtMetric - Purchase. -
Select Custom HTML as the tag type.
-
For the trigger, select whichever trigger you have configured in Tag Manager to fire on every purchase.
-
Paste in the Purchase Tag code found in the ThoughtMetric onboarding guide.
-
Replace the placeholder variables
Replace the placeholder variables in the tag with variables from your own data layer. You can modify the purchase tag to send additional data fields. For details on which fields can be sent, see the event and identify documentation.
Publish your workspace
After the ThoughtMetric tags are set up, publish your Tag Manager workspace to make the new tags live on your site.